Rcm Web Pages
Overview
Rcm Web Pages is a custom solution allowing you to create static pages that can be published to your sites. Web pages are made up of individual components that you can drag and drop onto the page. For example, you can drag a text component onto the page and add a value for that component. The value of the component is what will be rendered on the final page. You can also create revisions of your pages that you can save and come back to at any time.
Creating a new web page
- First ensure you are creating the page for the correct site. You can check this by looking at the top banner of the page here.

If you need to change the site, you can click on the arrow next to the site name, which will show a drop down of all available sites.

- In the navigation sidebar on the left, navigate to "Content Management" and then "Pages".

Once there you will see a list of pages that have already been created.
- In the top right under the top banner you will see "Create new". Click this to create your page and you will see the following:
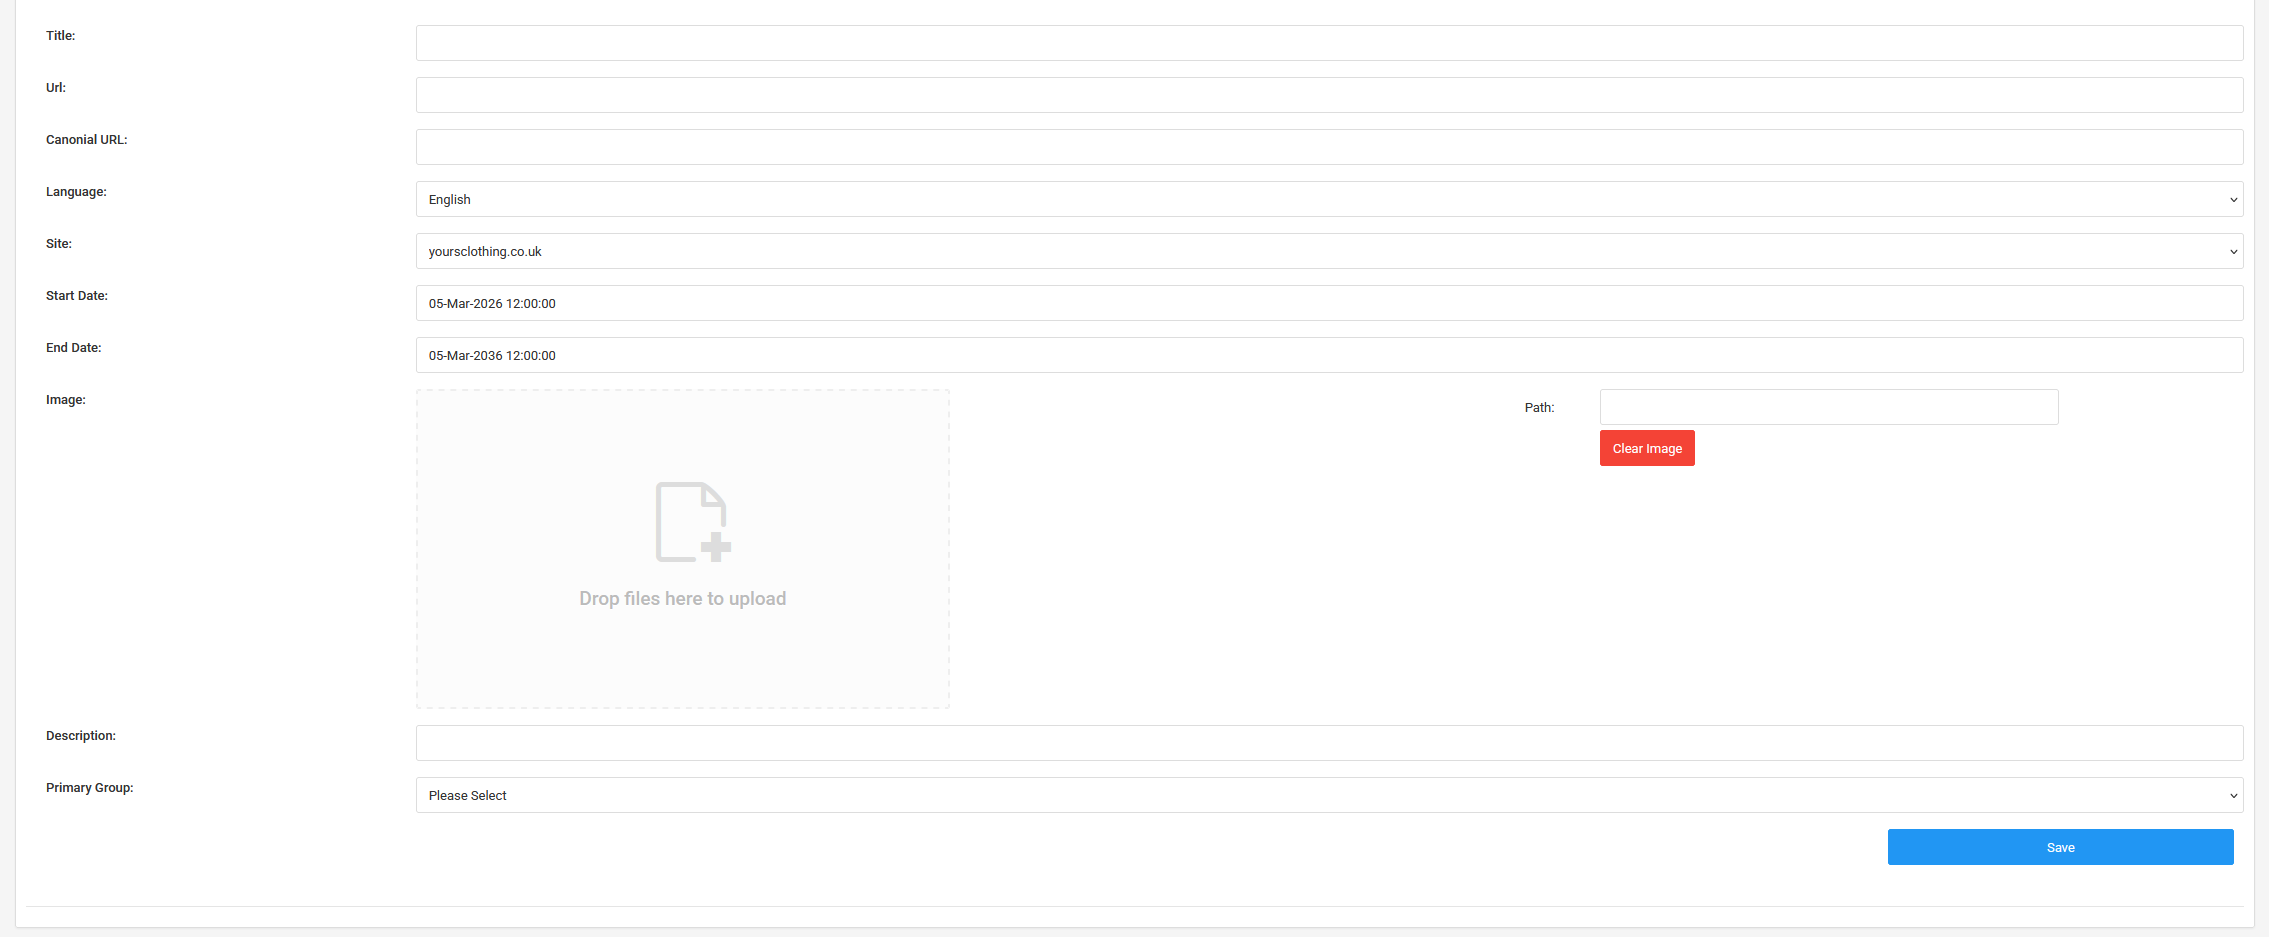
Here you can fill out all the details for your new page such as "Title", "Url", "Language", "Start Date", "End Date" "Description", "Image", and "Primary Group".
The primary group most of the time should be set to "Standard" unless your new page is going to be either a "Homepage", "Transparent Navigation" or a "Blog page".
Once you have filled out all relevant details for your page click "Save" once the page is save you will see a link "Go to editor" at the bottom of the form.

Clicking that link will take you to the editor where you can build your page.
Building your page
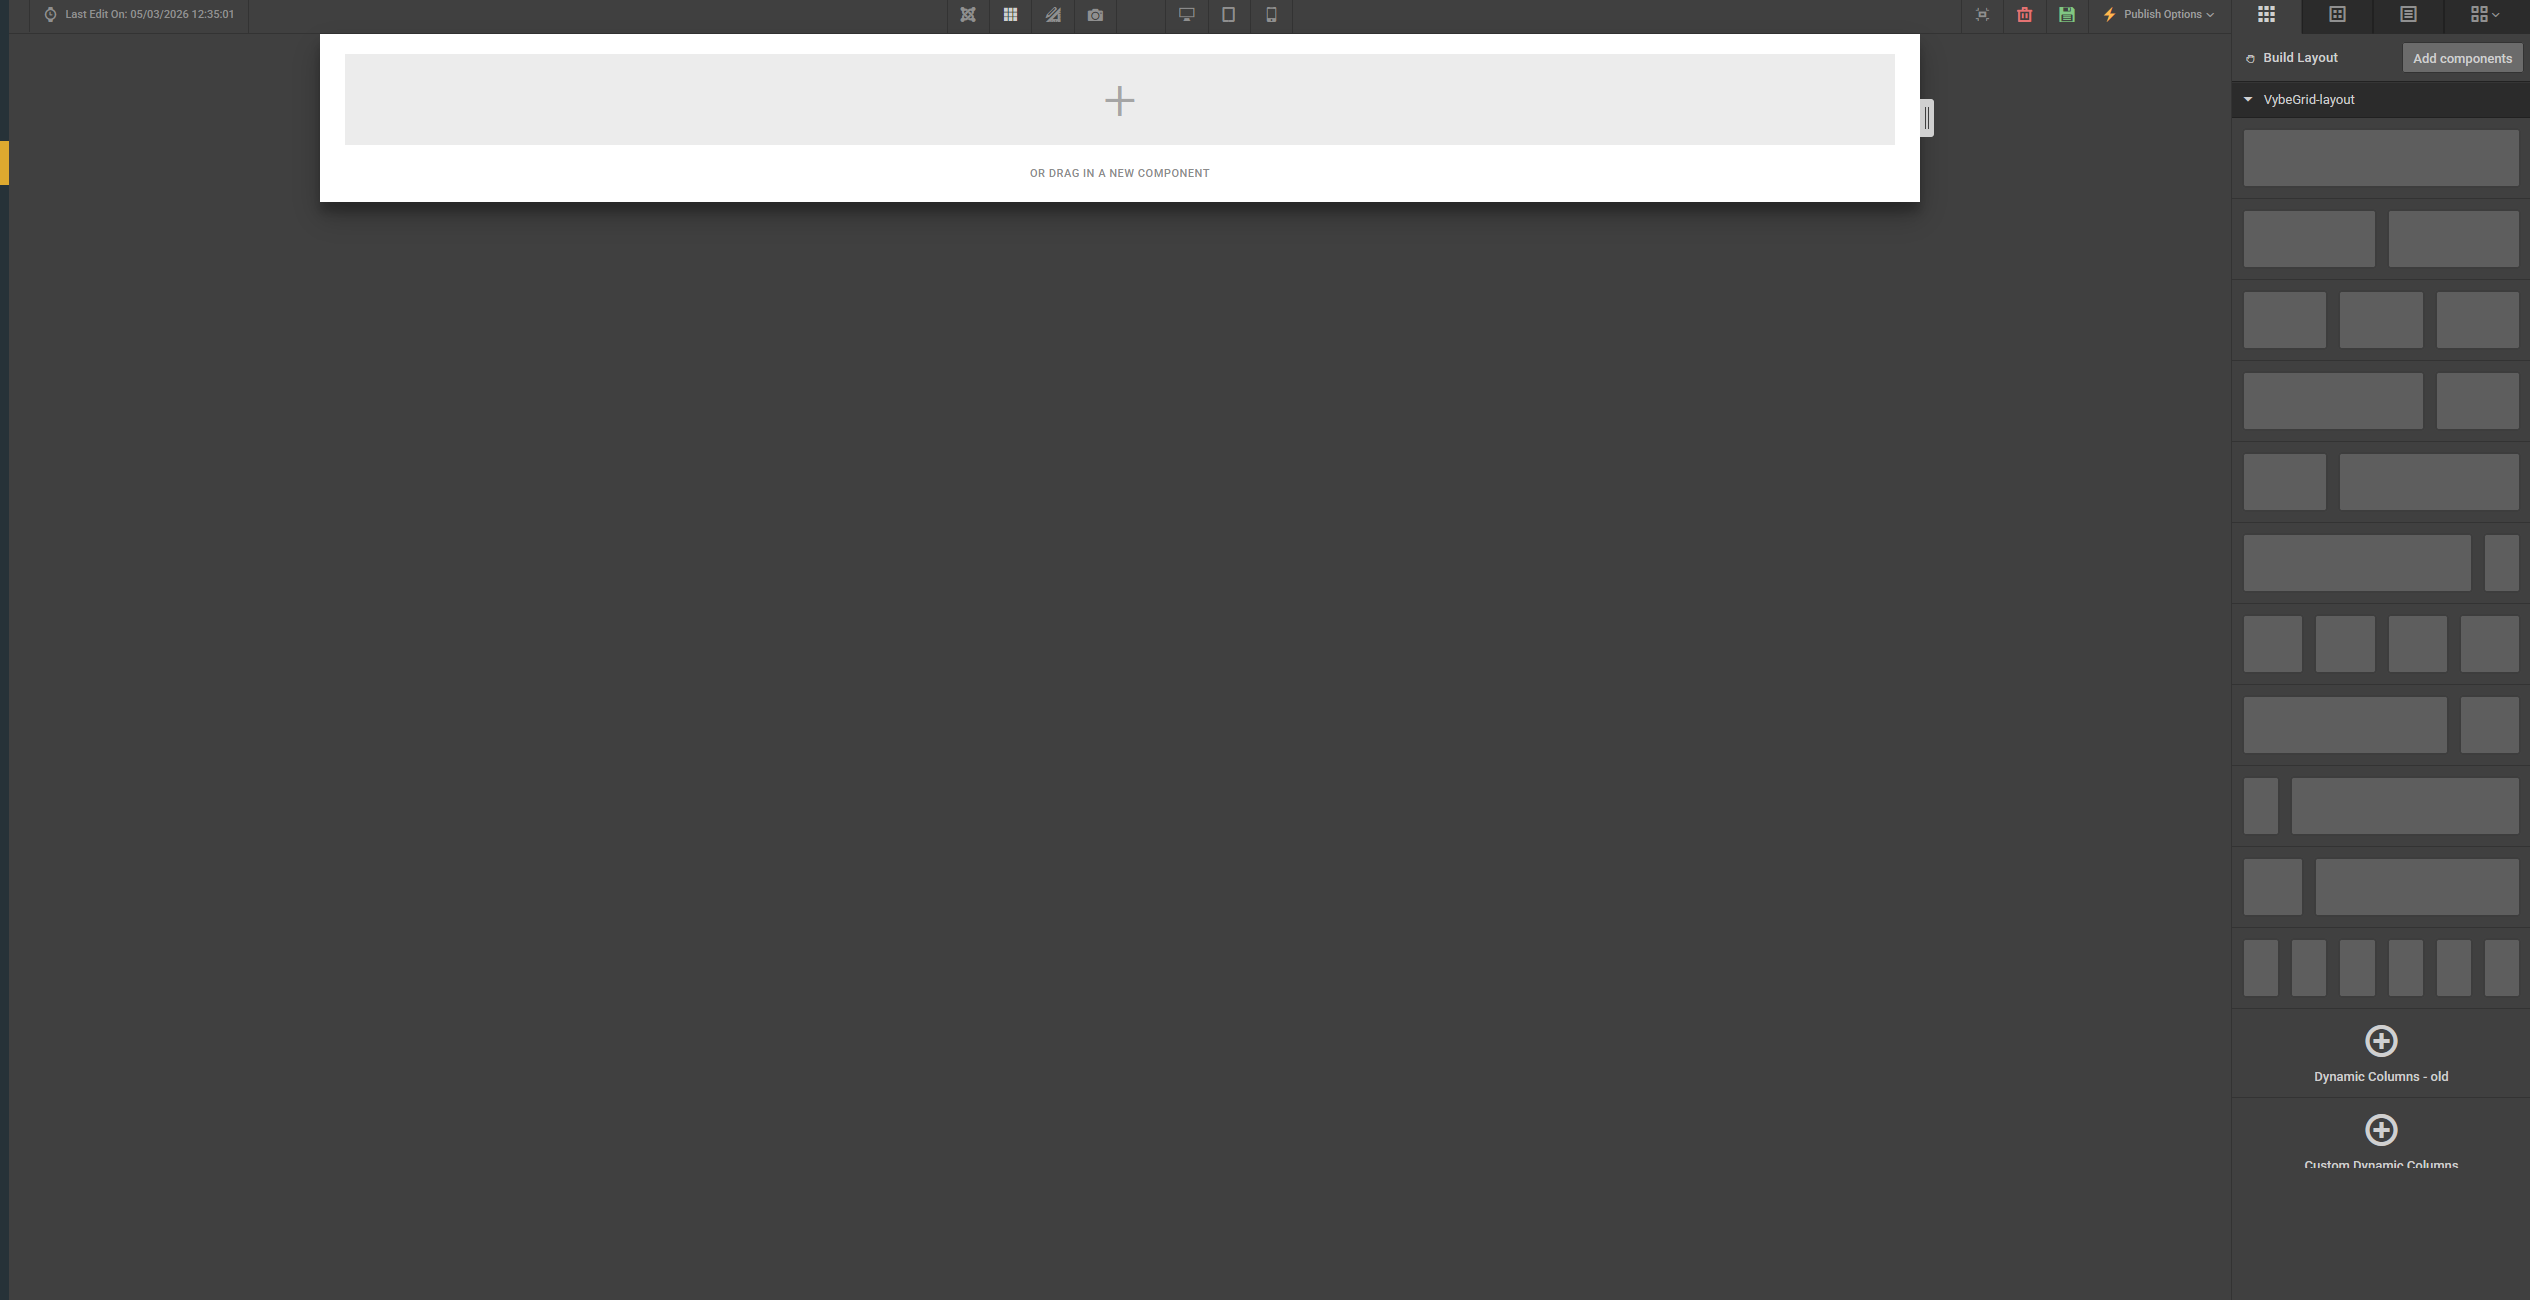
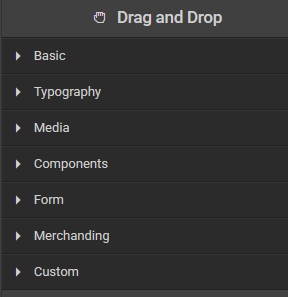
From here, click on the "Add Components" button in the sidebar. You will then see a few categories of different components that you can add to your page.
Now you can just drag and drop components onto the page. For this example we will use a text block.
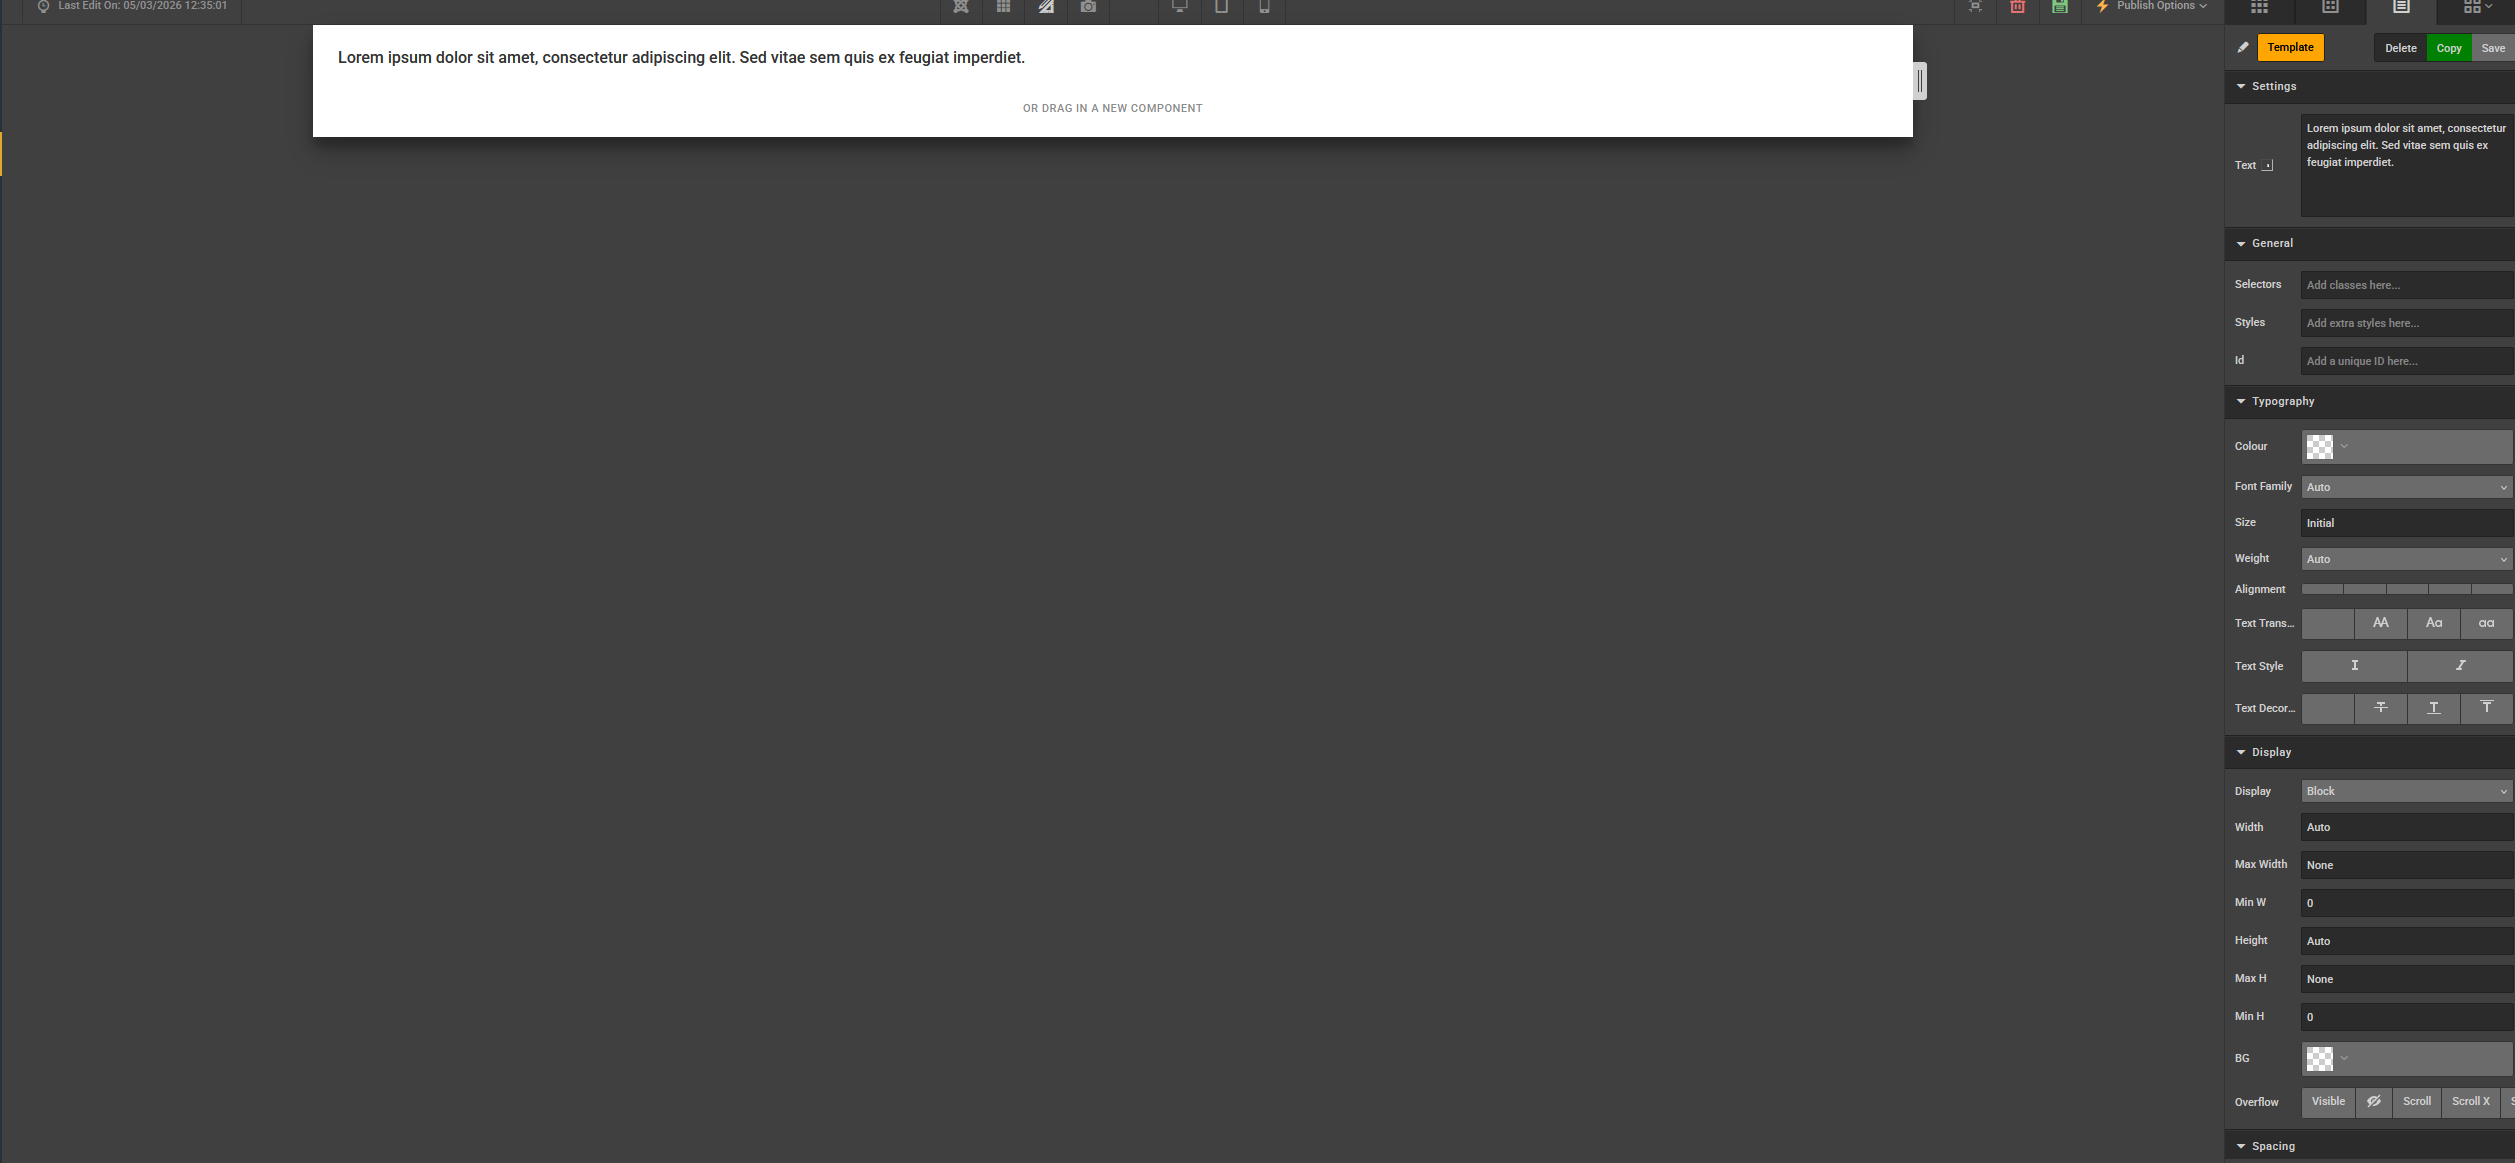
The text component falls under the "Typography" category. Once the component is on the page you will be able to adjust the properties of the component from the property editor on the right side of the page. Here you can change things such as the text that is displayed in the component, the colour of the text, the font and style of the text, and the text alignment. This is not an extensive list of the properties that you are able to change within this single component. All properties for each component can be found in the properties editor on the right side of the screen.
Once you have finished editing the properties of the component you have to hit the grey save button which is at the top right of the properties editor.
Repeat these steps for each component that you want to add to your page.
If you would like to save this page as a revision, you can do so by clicking on the green save button at the top of the editor.
Publishing your page
Now that you have created your page and adding all the components required, it’s time to publish your page. Before publishing, or even during the creation of your page, you are able to see how the page is going to look on the live site. You can do this by clicking "Publish options" at the top of the editor and clicking "live preview". When you are happy to publish the page, you can simply click publish under the publishing options menu.

Blogs
Creating blogs via rcm is much the same as creating any other web pages with a couple of exceptions. The first exception is the primary group. The primary group for a blog page acts as the blogs category. If you want to add a new category for your blogs section. You will first need to create a new primary group. You can do this by navigating to "Groups" under the "Content Management" navigation on the left.

To add a new group in the same way you would a web page click "Create new" and you will see the following:

You should set the parent and type to be "Blog". The title will act as the category title. Once this has been added a code change will be needed to update web so that the new group can be added there too.
The second exception is the main image that will display on web. This can be done by adding an image when creating the blog page. Also the description field should be used for the blogs description as this is used for the description that is displayed under the main image of the blog.
Resources
More information about our content management system can be found here.