Invoice Images
Overview
On the invoices sent to the customer two images usually differ, the logo at the top and the image at the bottom giving return details.
This location in admin has been built out to handle the upload and management of these images.
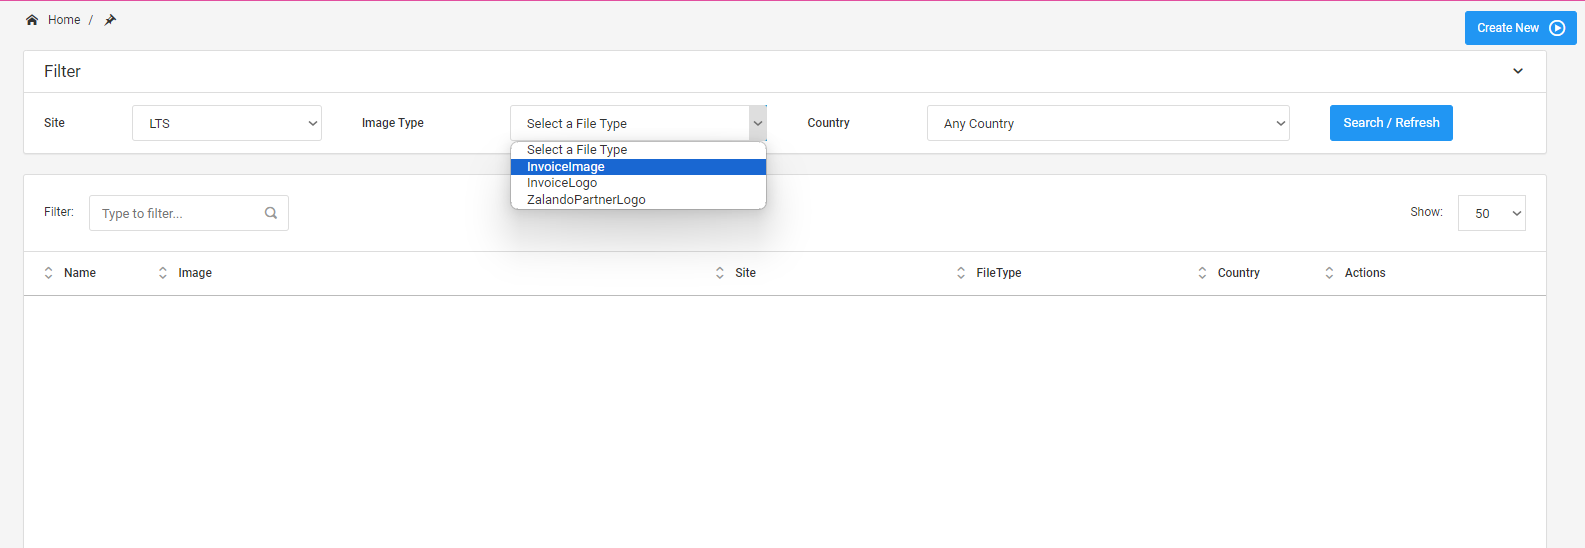
These can vary by image type (at time of writing, Logo and Return Image), Site and Country.
Permissions
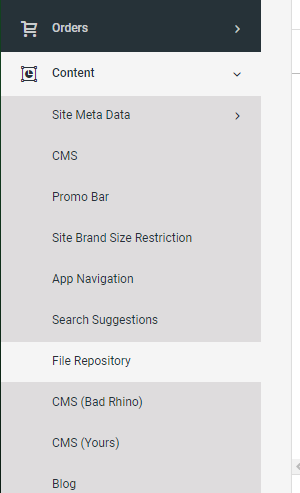
If you are unable to access the link above, or by clicking the 'File Repository' link under 'Content' in admin:
Please follow these steps:
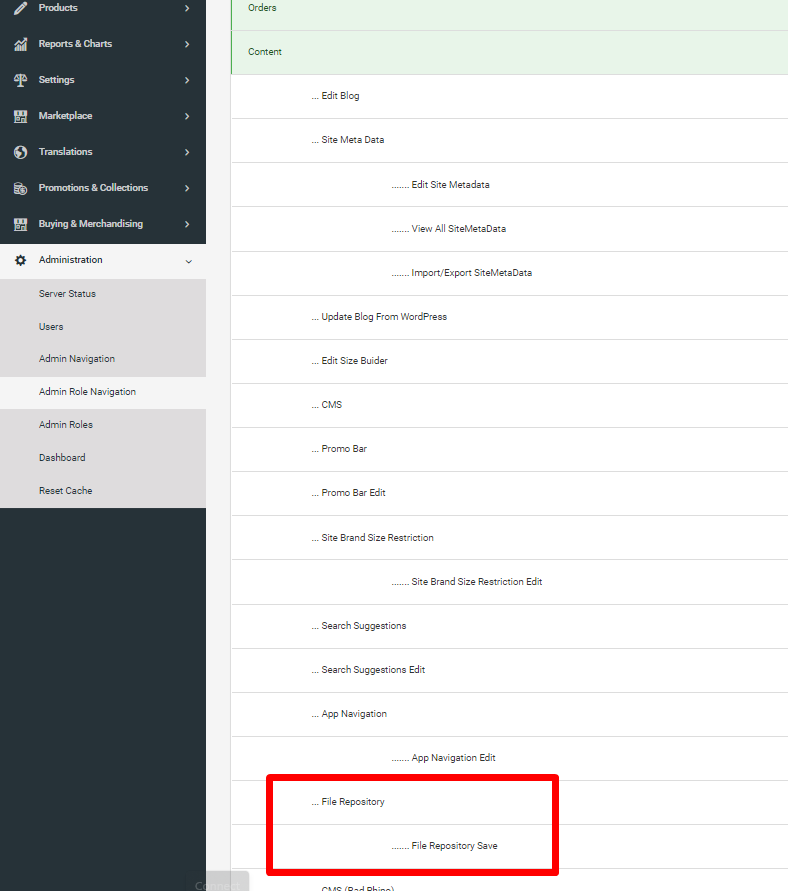
Request from the IT team (or Remarkable if required) the Admin Role Navigation Permissions of 'File Repository', and if edit permissions are needed also the 'Save' permission.
These will need to be added to your Role in admin (Trading/Content etc).
Finding Existing Entries
As part of the move from the old system, the current images were brought over and set up so most of the infrastructure should be there already.
As such, when you come to updating an existing entry, it should be fairly straightforward.
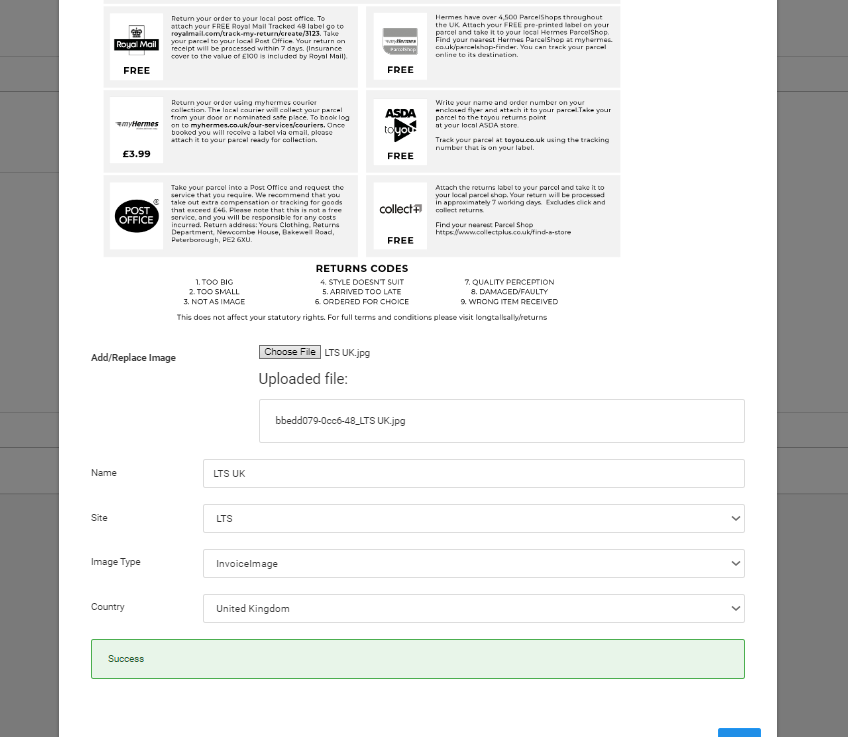
Say you were looking to update the LTS UK Return Image:
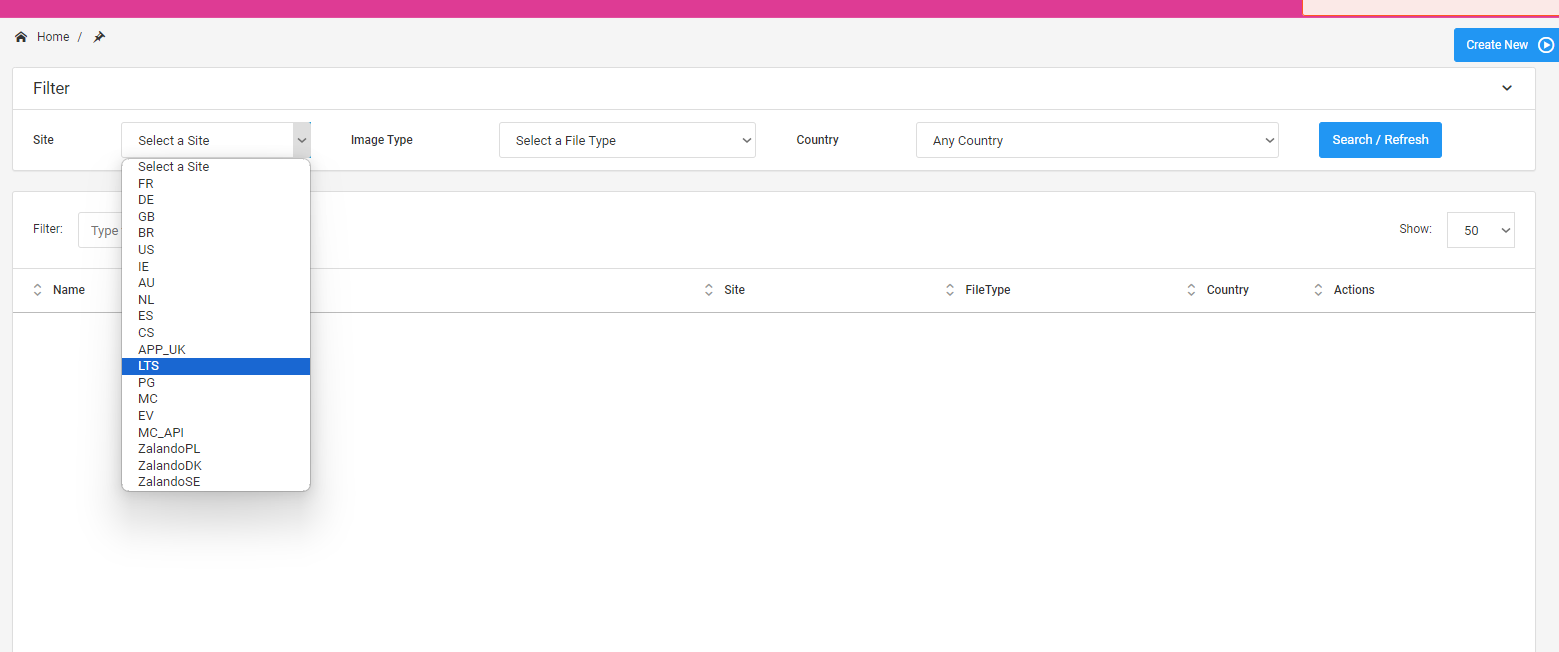
Click Search/Refresh
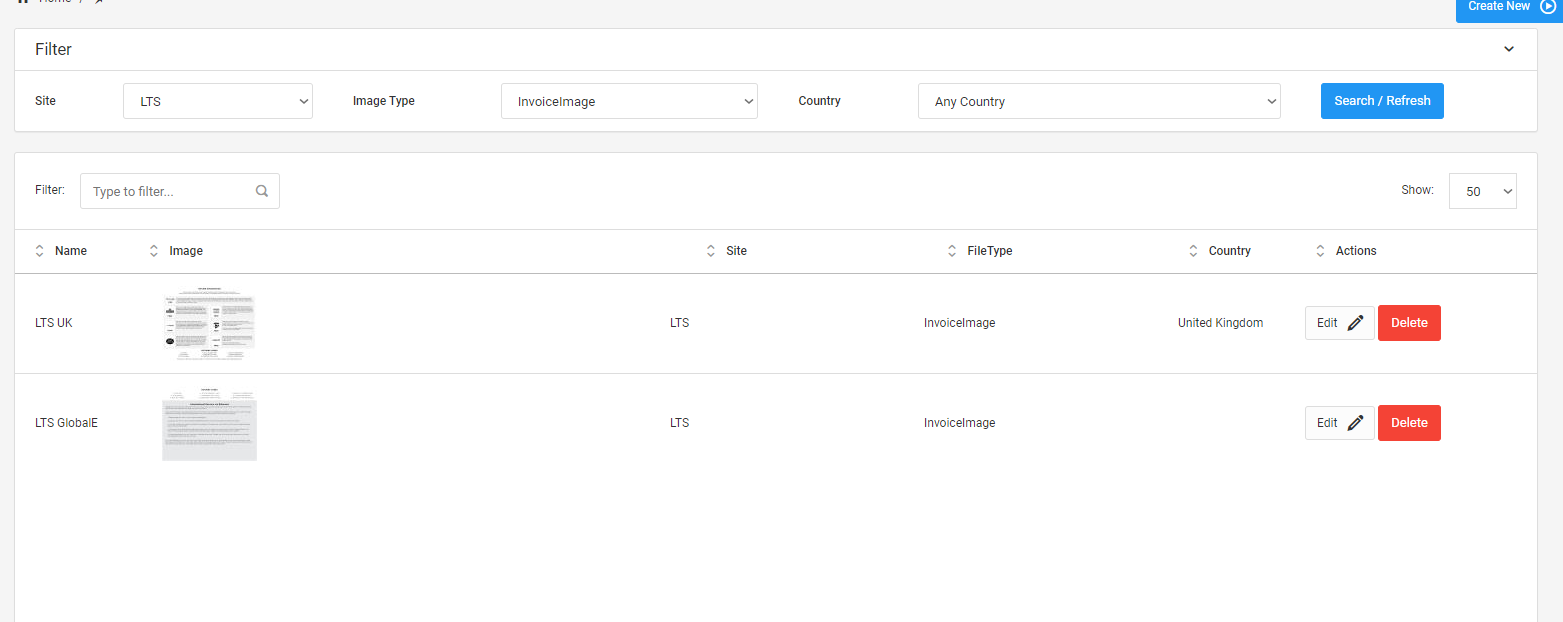
You are presented with two results. The LTS UK entry (shown by the 'Name' and the 'Country' fields) and the LTS Rest of World.
Click the 'Edit' button
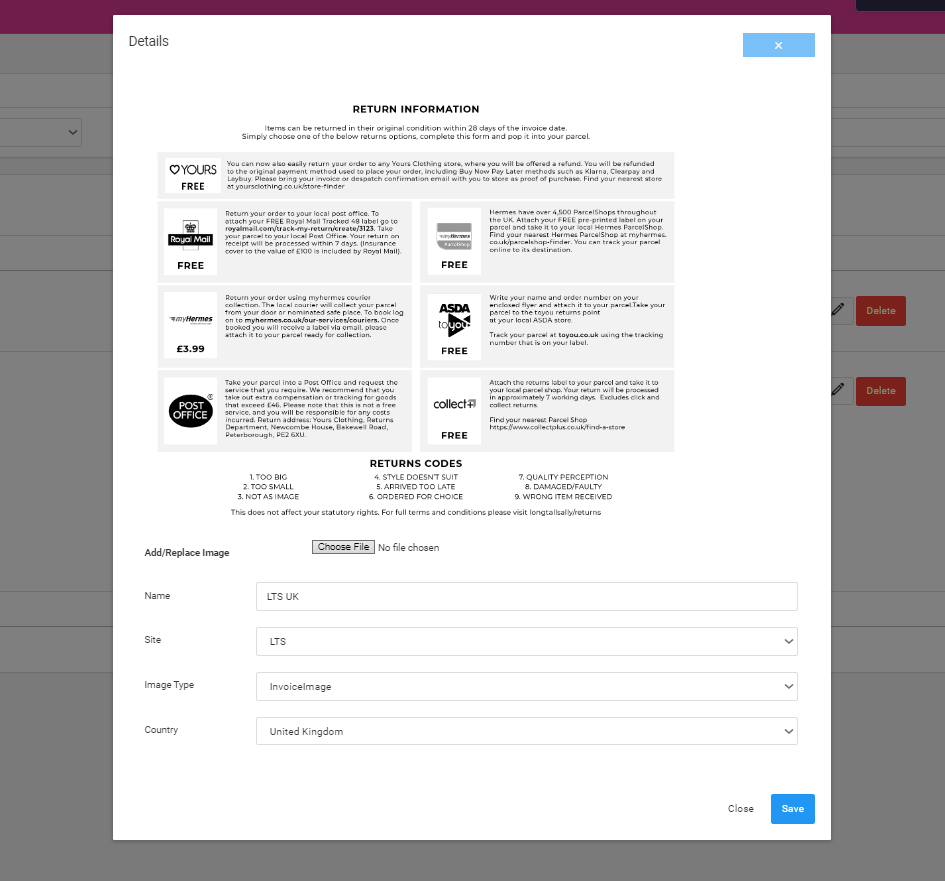
You'll then be presented with a modal popup showing the current image, and associated information.
Here you can amend any of the fields, or add a new image.
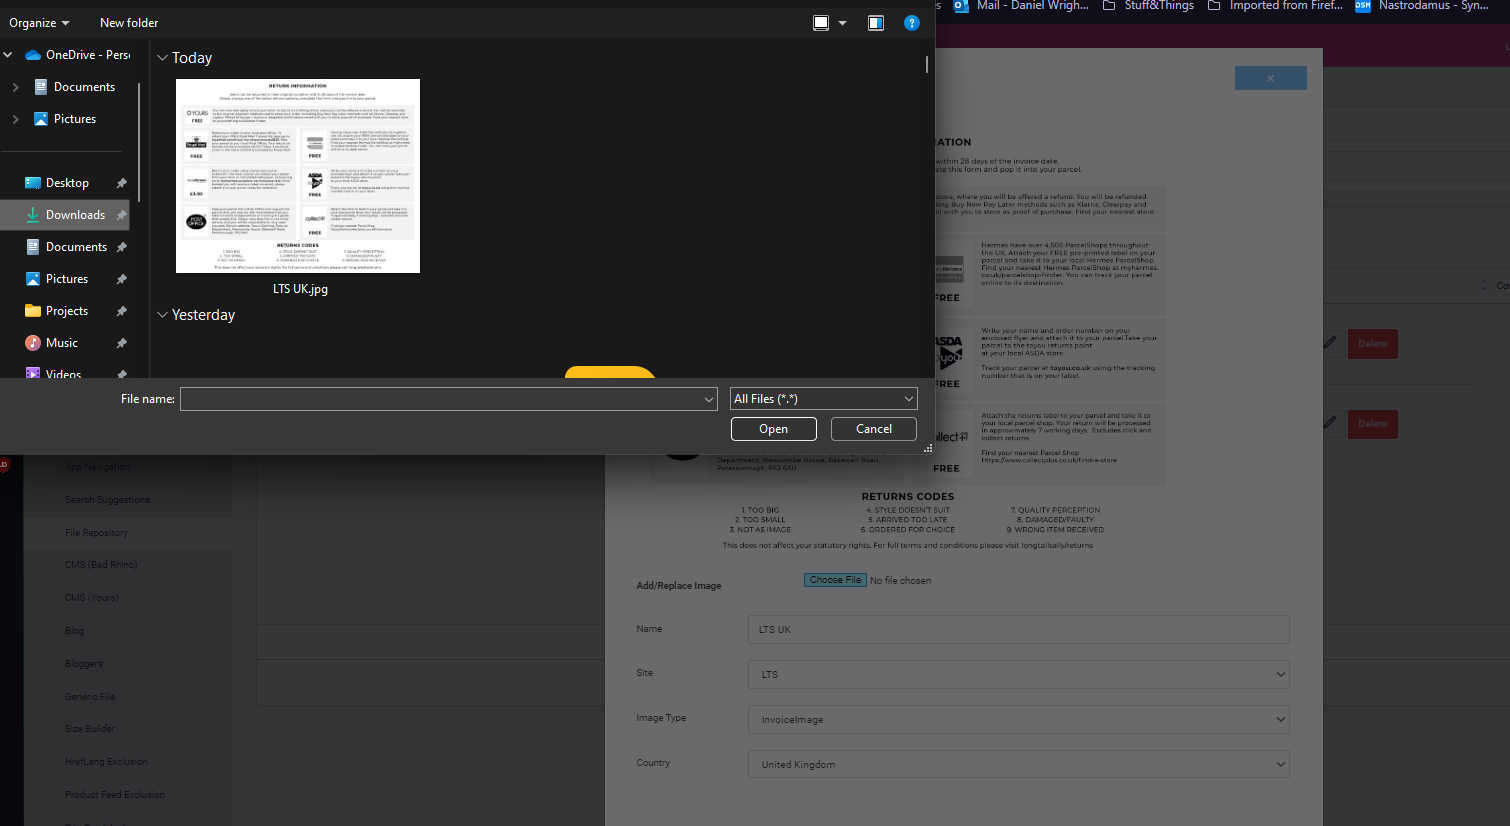
Click 'Choose File' next to 'Add/Replace Image'
You'll be given the option to choose a file
It'll take a few seconds but you'll be shown the upload url once complete:
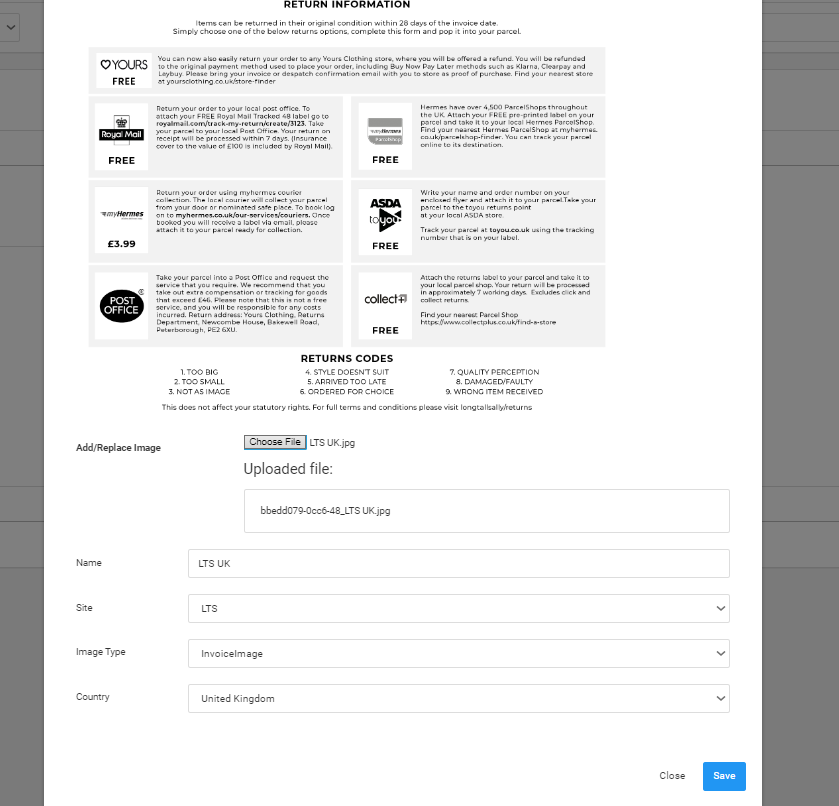
You need to click 'Save' for this to actually update the entry.
You'll see the following on successful save
You'll also get errors if you have missed required information

If you then Refresh your search (click the search button again), you should see the new image.
Adding a new entry
The steps are similar for a new entry, some rules however need to be followed though to ensure it works
- Entries must have a Name, Site, Image and Image Type
- Site is the main selector, so orders placed on the LTS site will show the LTS image
- Country only needs to be set if you then want to override that behaviour - e.g. You want a French image for LTS orders with a Country of France. This will then take priority over the generic entry.
- If you add a new site (Evans for example) - If you do not set a basic Logo and a Returns Image, the invoice won't have either.
In addition to the above, you just need to use the 'Create New' Button in the top right of the page.
You'll get a similar modal popup and just need to set the base information.
You need to ensure that you click 'Save' to save the entry.
Once you have added a new entry - it's recommended that you check that your entry does not have the same settings as another.
If you are looking to mirror existing settings, edit the existing rather than add a new one.
Please try not to set duplicates.
Deletions
You just need to click the delete button and confirm with the popup. This will set the entry to 'Deleted' in the database.

If needed, with some details Remarkable are able to restore this for you.
Exceptions
There are a couple of special cases that need Remarkable asstance:
Marketplaces
To reduce clutter, most of the marketplaces are not in the Site dropdown, but sites like Debenhams will still have an entry.
Specifically for Debenhams, there is a Return Image that Remarkable is able to update and the invoice will take the logo from the OrderItems on the order.
If a customer orders a BadRhino jacket on Debenhams, the invoice will show the BadRhino logo.
Click and Collect
There is also an entry for Click and Collect orders. The logo will work fine as that takes from the site however the return image has it's own entry in the database.
If this needs to change, please contact Remarkable.