Promotion Overlay
Creating the Promotion
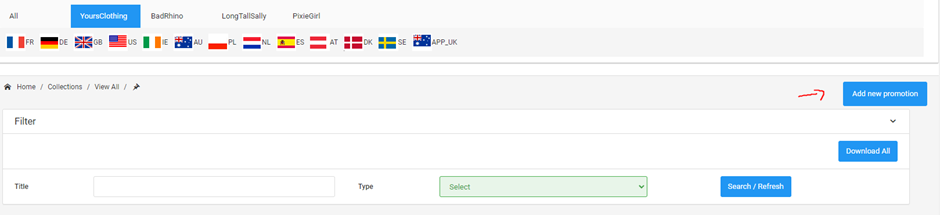
To create a promotion, click on the add new promotion button on this page View All Promotions (admin.yoursclothing.com).
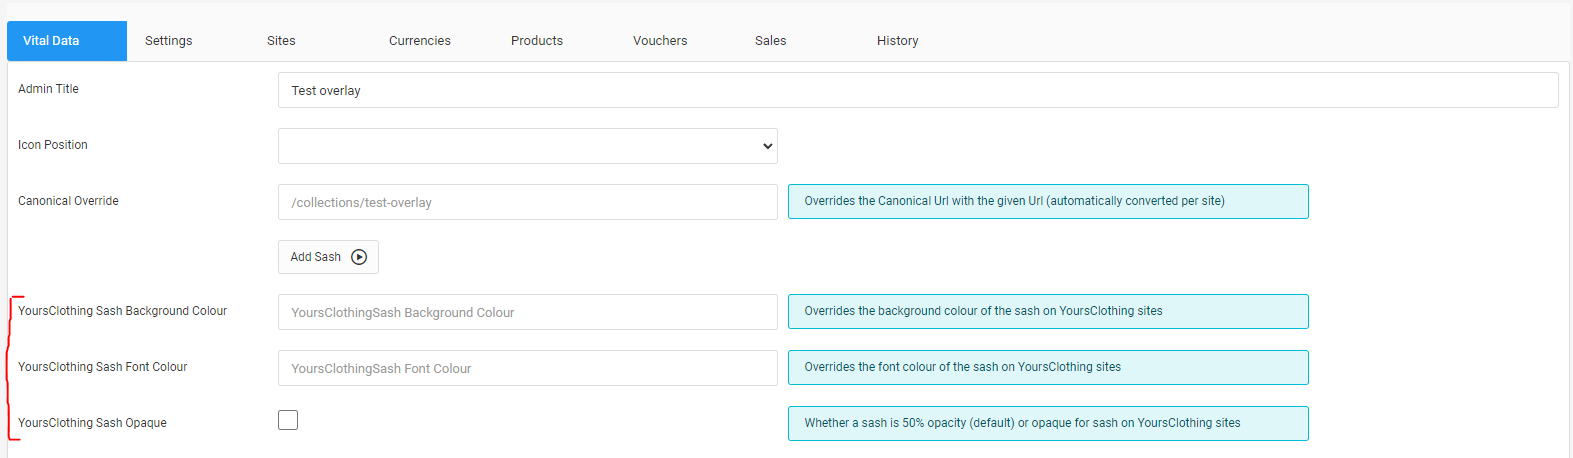
Make sure to give your promotion a name and add a sash for your desired parentsite(s) using the “Add Sash” button. This sash can be left as empty.

When this has been completed click the submit button at the bottom of the page. You should get a message in green saying “Success”.

Afterwards refresh the page to see your sash, in this case it would be just for Yours Clothing.
Next, head over to the products tab and add the product(s) you want to include in this promotion.
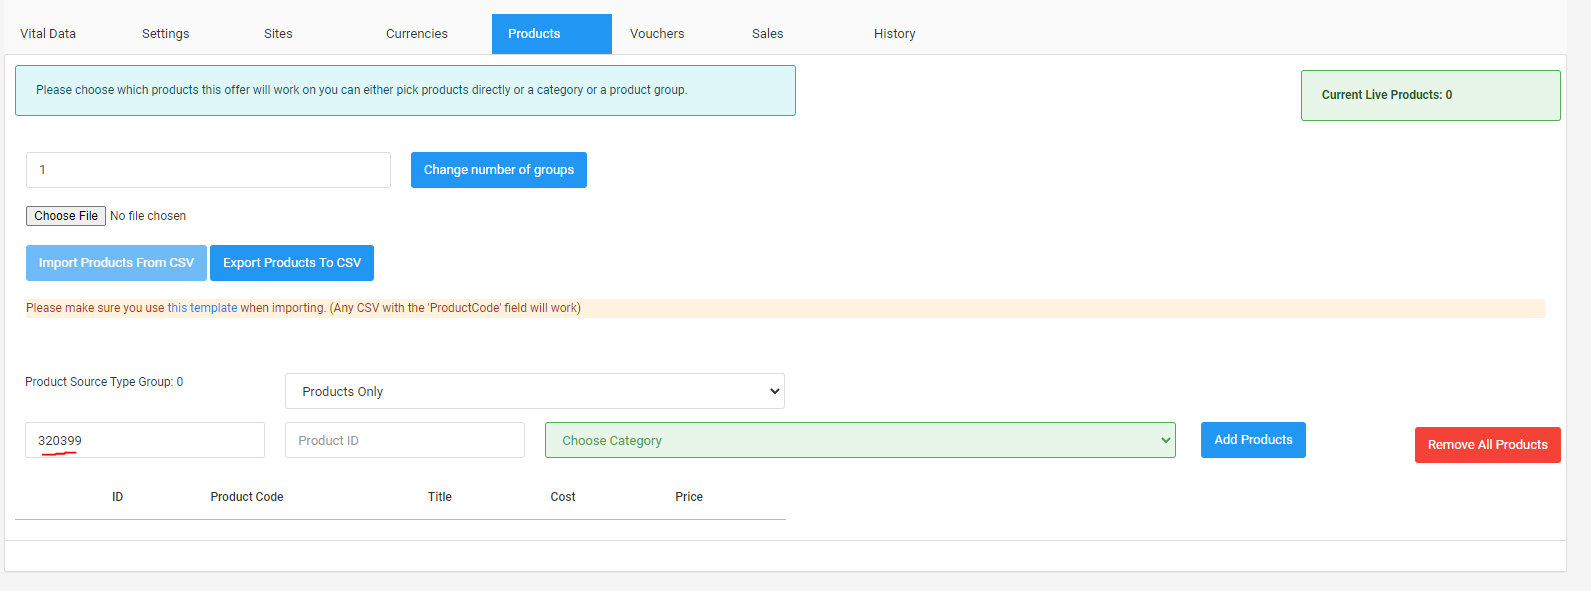
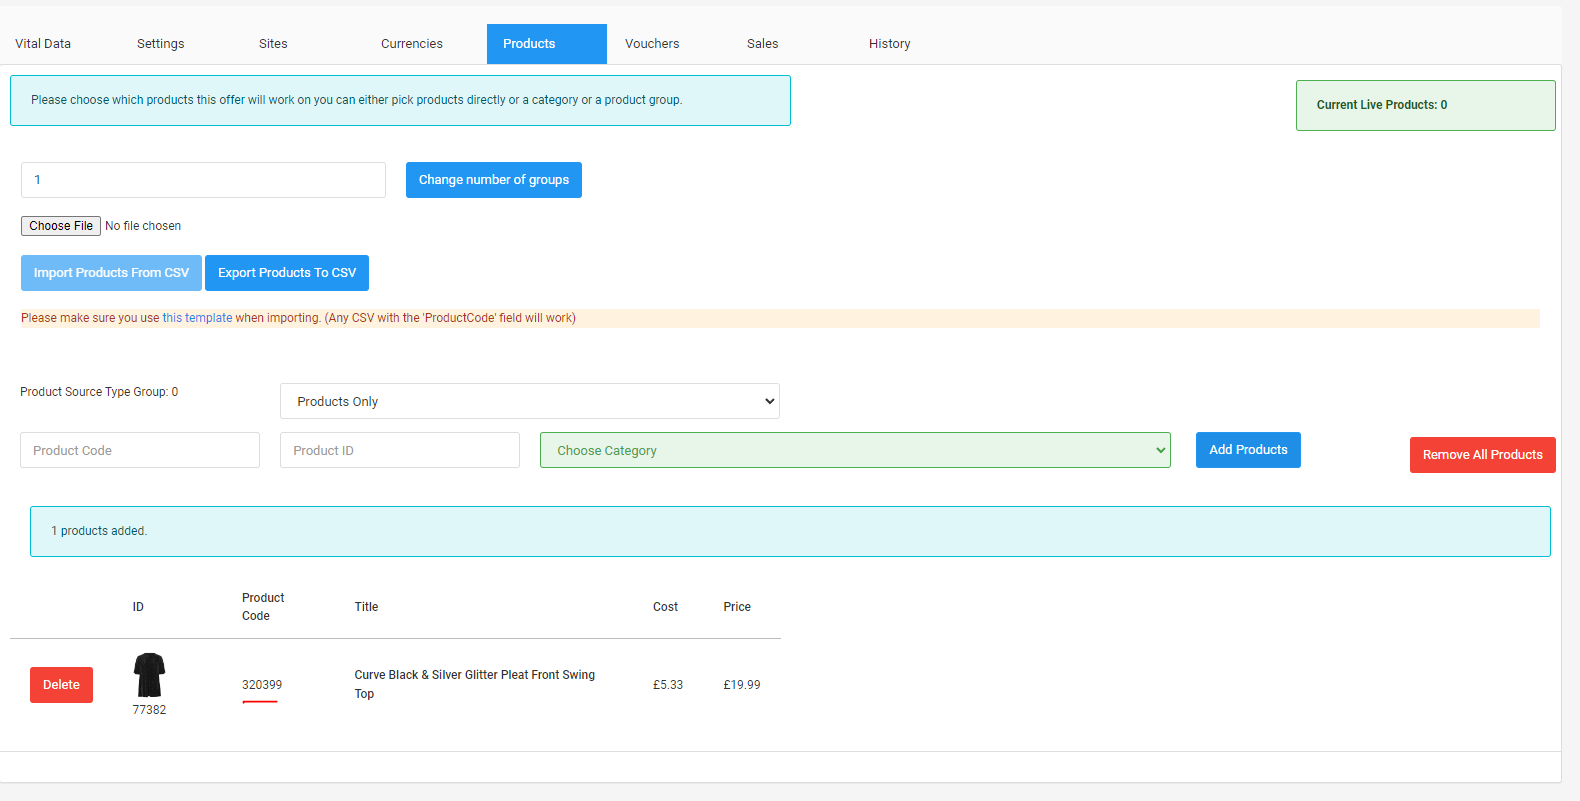
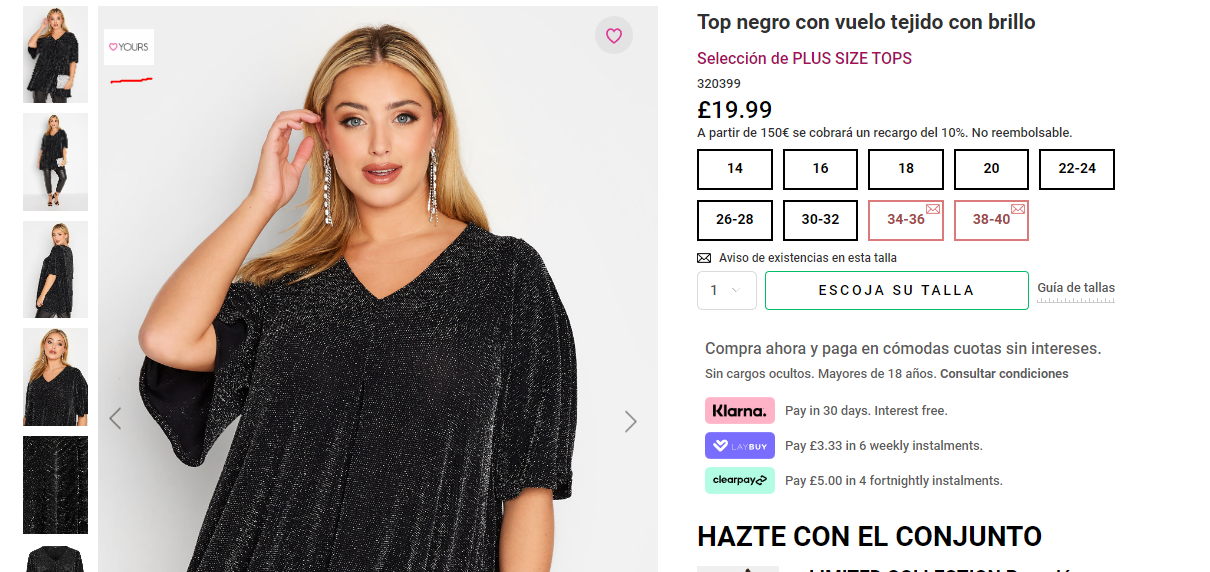
I will be using product code 320399 for this example.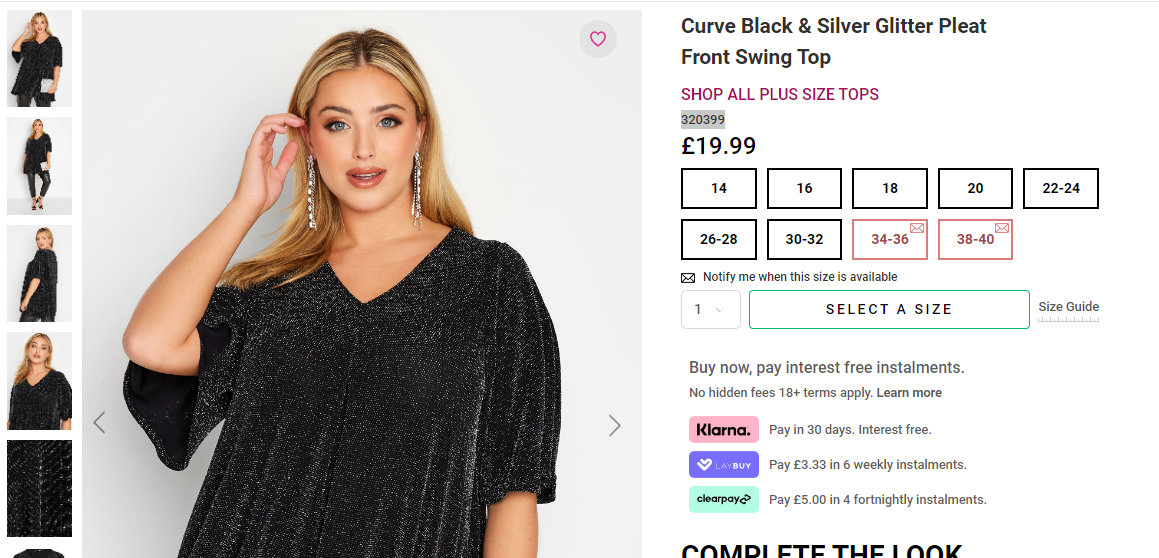
Finally click on the Sites tab and select the sites you want this
promotion to be on.
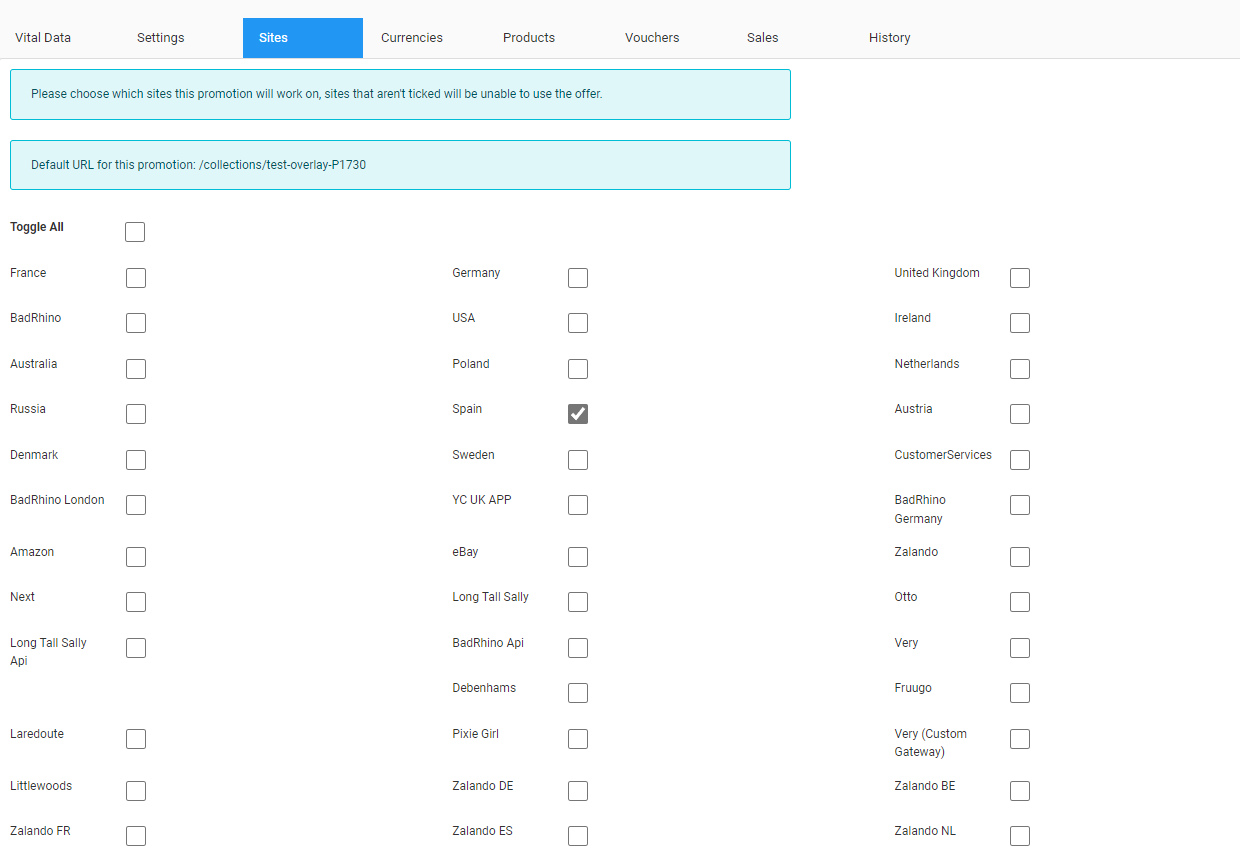
This will create an entry at the bottom of the page where we can edit
the promotion overlay for that specific site.

Creating promotion overlay
Once you have completed the above, we can make a start on creating the overlay for the promotion. On that new entry for the site click the Quick Edit button on the Actions tab on the right.

When clicked a pop up will appear allowing you to add data to this entry. To create an overlay, we only need the URL, Title, Overlay and Overlay position.
First enter the URL, Title, and select the position you would like the overlay to be in. For the position you currently have three options:
Top left

Bottom left

Bottom right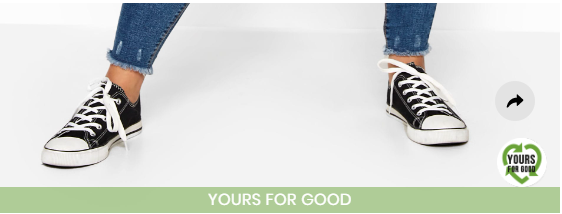
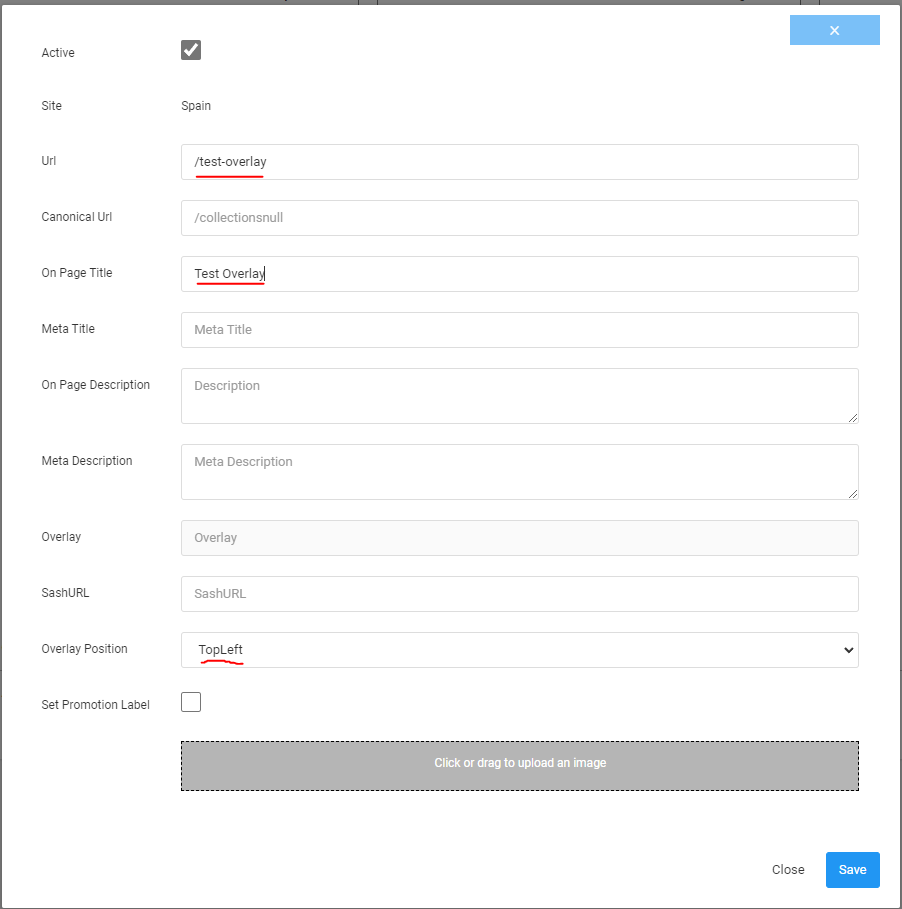
Next, we need to add an image for the overlay. You can either drag the
image into the grey rectangle at the bottom or click it and select the
image file. The allowed file types are jpg, jpeg, png and gif. The
maximum file size is 4MB. For this example my overlay will be this

When you have loaded the file the name of the file should show up in the
overlay box.
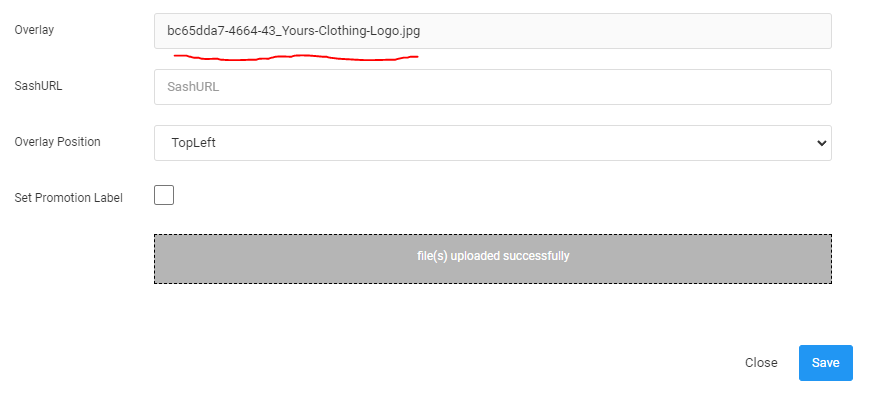
Finally, all that is left is to click the save button at the bottom of the pop up and you should get a green message saying that it has been saved.

The changes you've made should show up on the entry you
created.

Once these steps have been completed you must wait for this data to sync over to web where the results of your work should be displayed.