E-Voucher Products
Adding an E-Voucher Product
The E-Vouchers do not come from VMR like standard products, so can be added via the 'Create New Product' button here
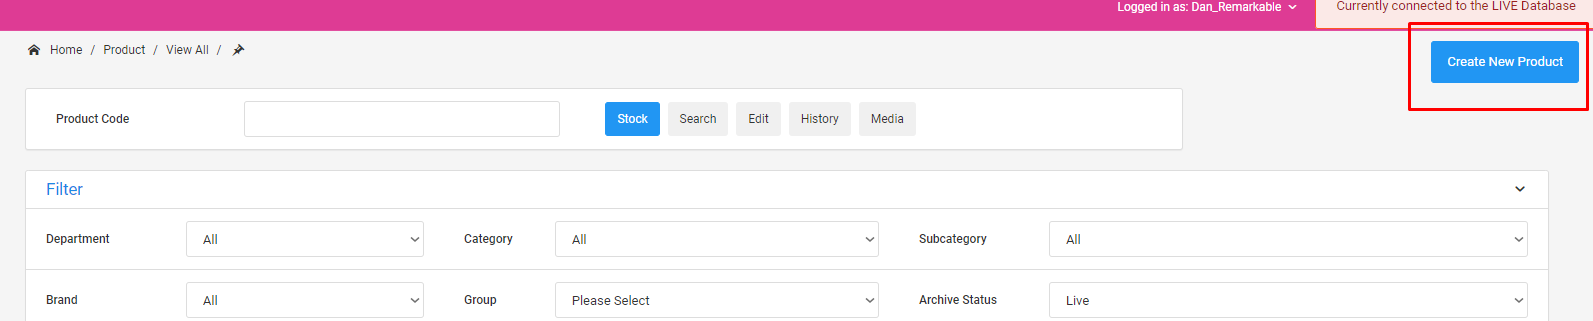
Assign a Category and a ProductCode to the product and click 'Submit'
Once on the Product Stock screen, there are a few basic things the product needs from here to be able to sync over to web.
ProductType
This is the most important step, do not set the product to be onsite without this step completed
On the 'Edit Product' screen, there is a Product Type dropdown that needs to be set to 'eVoucher'

This enables all the checks to ensure that the vouchers are correctly generated on purchase and can be redeemed.
Base Data
Price - The item defaults to £1 but this will be overriden on web by the standard voucher rules as long as you follow the 'ProductType' step below. It's recommended however that it get's set to £10, as that price will display in some of the areas of the site and is representative of the default value.
ProductBrand - Please let us know what Parent site this voucher belongs to using this box:

Title - Name your Voucher Product to something appropriate for the customer to see.
You'll likely want to be adding the usual product Meta/Descriptions and such also for SEO purposes. These are not completely necessary for the product to go live however.
Please also note that there are Country Restrictions old gift voucher, at time of writing these are Australia, China and Portugal. If this is required for these new products this will need mirroring. This for the old voucher can be viewed here
Stock
Like the old voucher, a single stock entry needs adding and it needs to be active and have an amount of stock (say 500 units) - this stock level should not decrease on purchase so can be left at that.
The standard format for the stockcode would be {productcode}001, please set this for the StockCode and Title otherwise the stock item will not sync over to the Web database
To summarise, please set up one stock and add:
- An amount of stock quantity
- A Title
- A Stockcode (using the Code/Barcode 'Add' button)
- Send the following information to Warehouse to sync the new product with their system
There is a new EVoucher added with the Productcode {insert Productcode here}.
Please can you scan this into a Stockbin location, using the Edit Stock function on the scanners.
If this step is not done, the stock you have added will be overwritten to be 0 on the overnight update.
Images
Once you have set the ProductType correctly, you will get some new options for Image Type on the Media Tab:
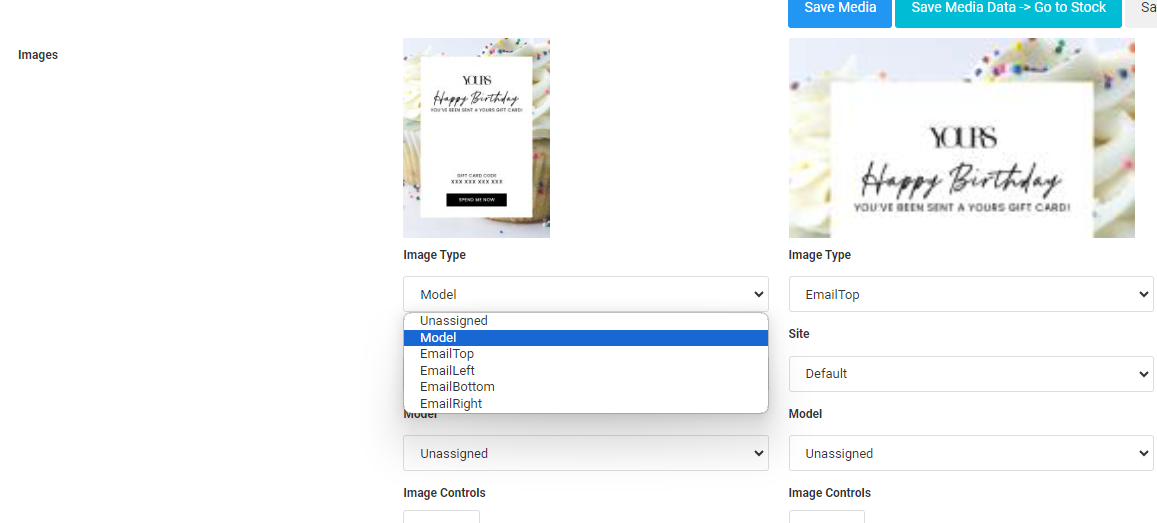
The same as the old voucher, we need the image slices to build the email and the Model image to display on the PLP/PDP, so please ensure there are exactly 1 of each of these Image Types:
- Model (download)
- EmailTop (download)
- EmailLeft (download)
- EmailRight (download)
- EmailBottom (download)
(Click the download button to download examples)
The dimensions (Width x Height) of these are as follows:
- Model 567x772
- EmailTop 567x328
- EmailLeft 95x262
- EmailRight 95x262
- EmailBottom 567x182
These can be added to the Media tab like regular images, just the Image Type needs setting and the remainder can be left as default. The image order is not important.
At time of writing, their displays might look strange on the media screen. As long as the dimensions are correct as above however, they should work fine for the email and site.
Site Assignment
Due to restrictions with the POQ API implementation, the data required for the EVouchers to work cannot be sent correctly at time of writing. Please do not assign these products to any of the Apps.
Please also note that the 'Add All YC' option currently does add the App, so this will need removing if clicked.
From here if the above steps are all completed (and you already have an email set for the site per the instructions below), then the product can be assigned to the desired sites using the 'Sites' tab. The product will start showing after the product has been synced and the relevant caches have expired.
Email Template
For the vouchers to correctly send to the customer, there needs to be an email template set up for each site that the voucher is added to. Only one template is needed per site, you don't need to add one per voucher.
These can be added here
Templates have been added for each existing site to begin with, but any new site will need these adding in the following way:
Click 'Add Service Email Site Template'
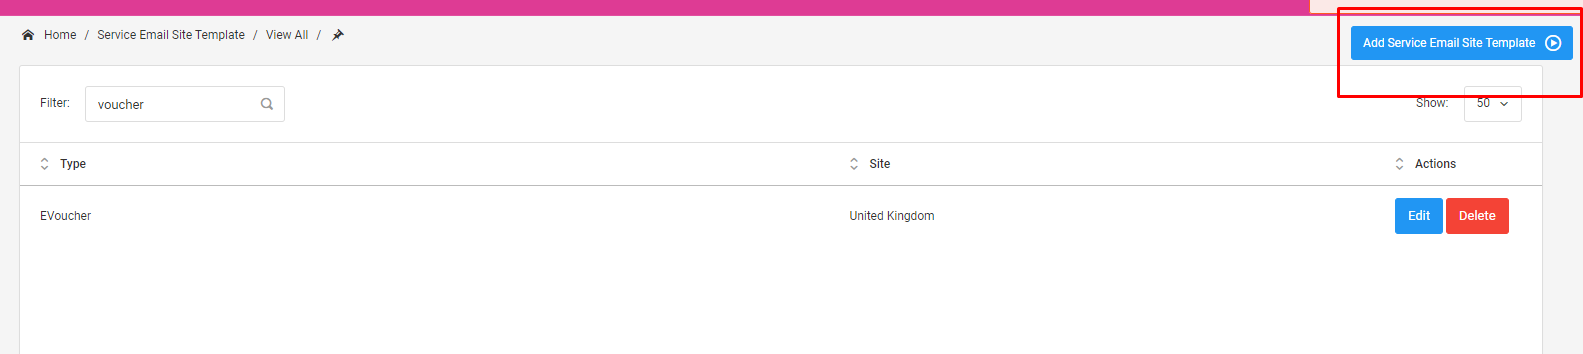
Add the Type of 'EVoucher', the site of your choice and the email HTML.
The easiest thing to do for the HMTL is to take an existing one and amend the wording slightly to reflect your chosen site.
Please ensure that you do not move or alter the main placeholders for the images, or the voucher customer details - you can see the format of these highlighted below:
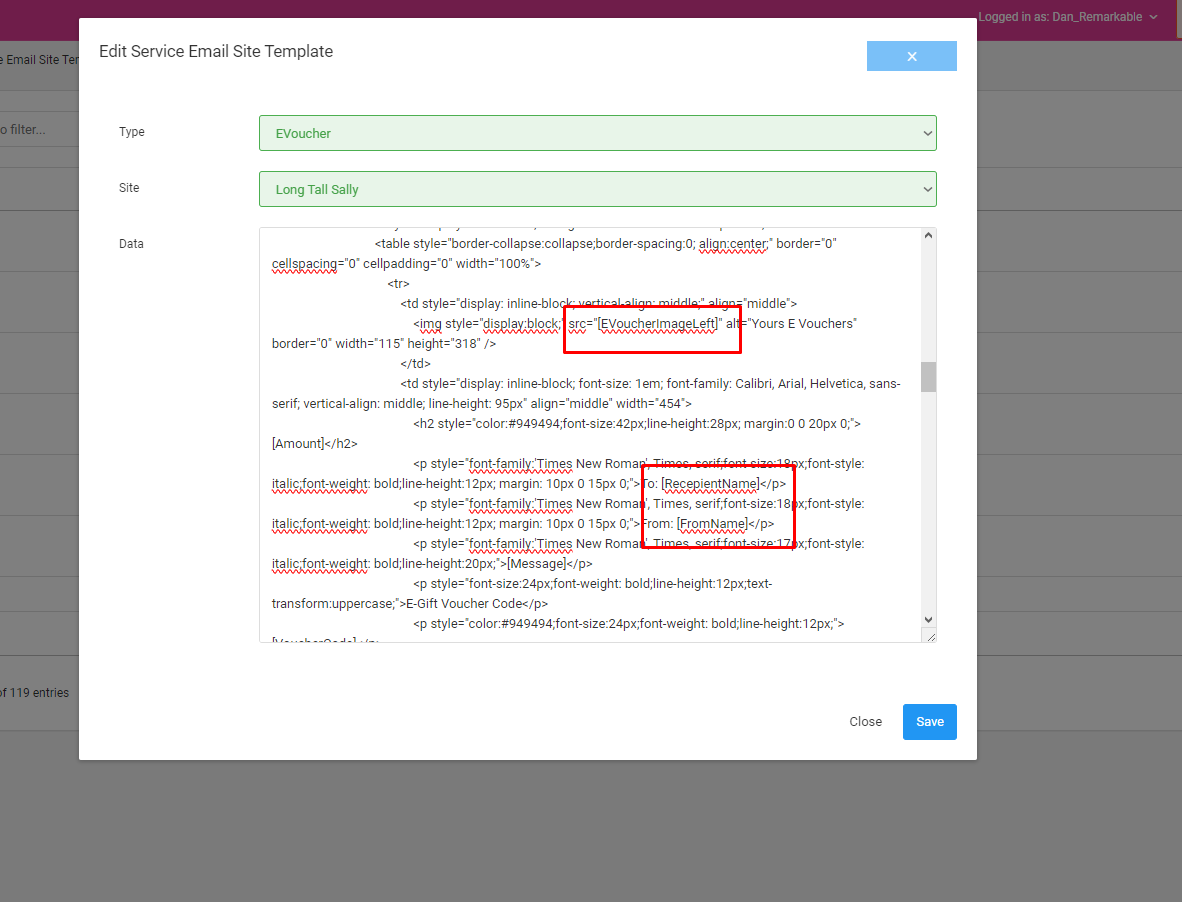
These placeholders are targeted by the code so need to be present for the emails to work correctly.
Should you need to upload any other images for the emails, you can use the FileRepository module that is used for the invoices. The documentation can be found here
Just choose your required site, choose the Type added specifically for this called 'EVoucherEmailImage' and provide a useful name. Country is not required for this.
Once uploaded, there is a new 'Copy' button added to the main grid page that you can click to copy the uploaded image URL to your clipboard. This can then be used as the source for your image in the email content.
Voucher Resends
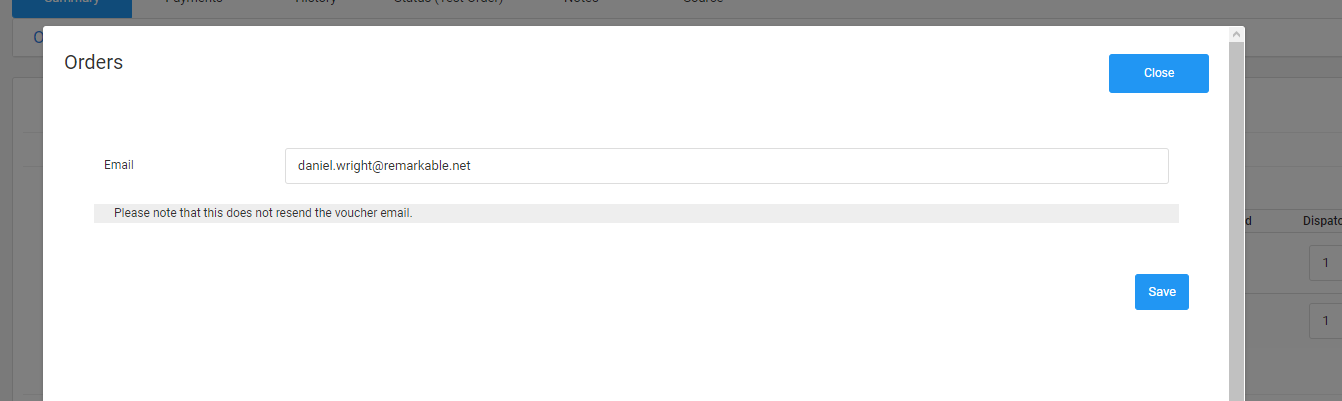
Like the old style gift cards, the email can be resent to the recipient via admin on the manage order screen.
The design will reflect the model image of the voucher, and the email can be sent to the email on the 'recipient email' line using the 'Send' button.
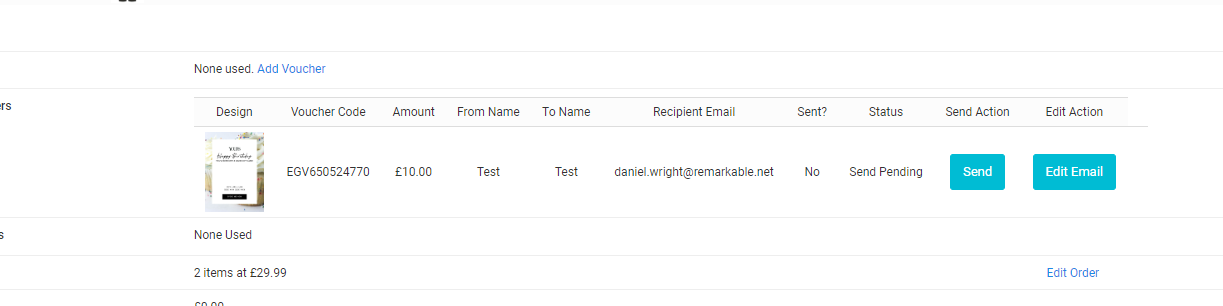
Where the design was previously able to be amended, since the design is specific to the product in question, this can no longer be done - the recipient email can still be changed though using the 'Edit Email' button: